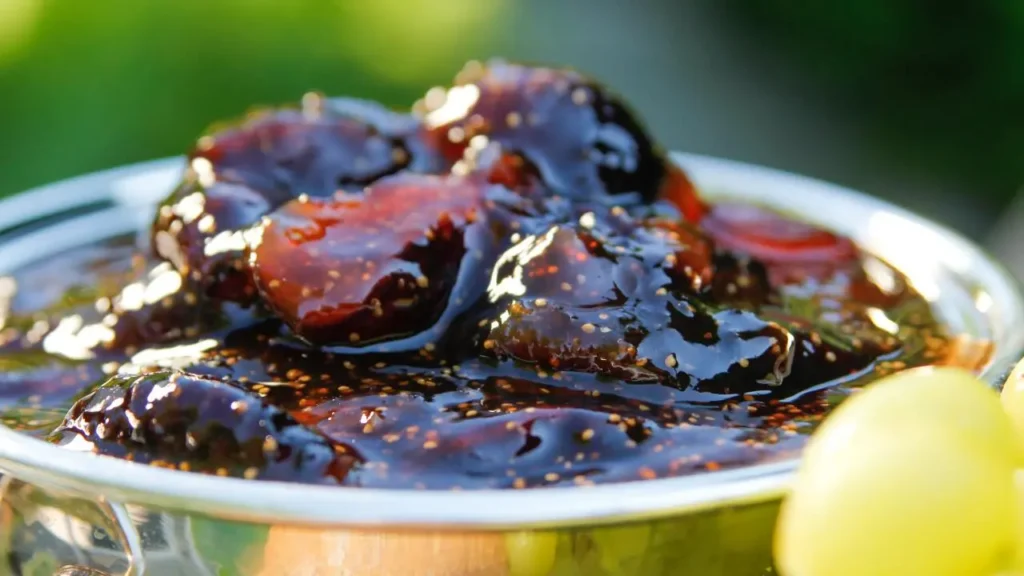
There’s something incredibly comforting about the aroma of simmering fruit on the stovetop.
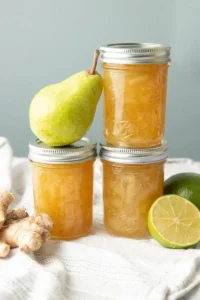
For me, pear preserves take me right back to childhood—watching my grandmother carefully peel pears and simmer them slowly with sugar and spices until they turned into golden, syrupy perfection.
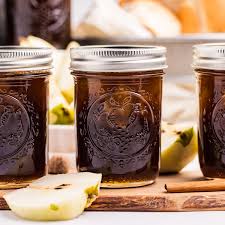
If you’ve been looking for a tried-and-true pear preserves recipe, you’re in the right place.
Read More: Homemade Fig Preserves Recipe
I’ll walk you through everything you need to make these preserves at home—just like grandma used to make.
Why Make Pear Preserves?
Pears are a wonderfully versatile fruit. Their natural sweetness and subtle floral flavor make them ideal for preserving.
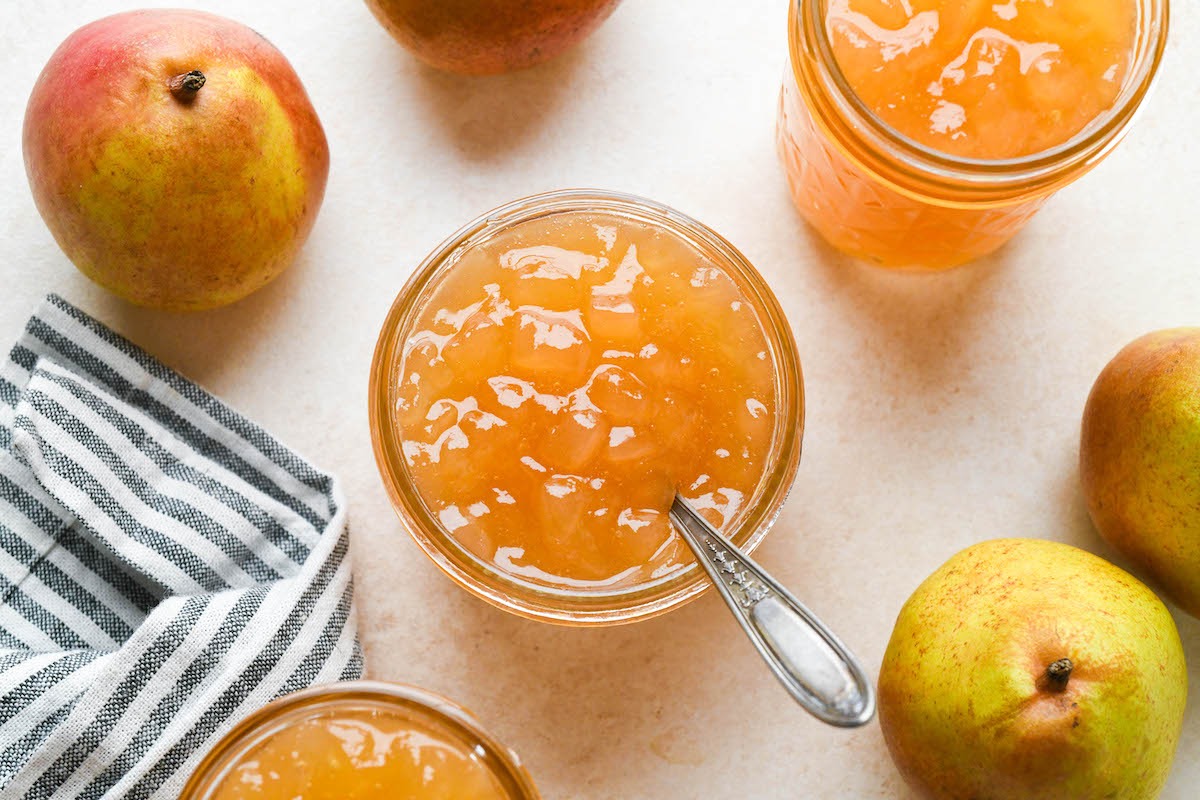
Pear preserves are different from pear jam or jelly—preserves include delicious chunks or slices of fruit suspended in thick syrup, making them perfect for:
-
Spreading on warm biscuits or toast
-
Topping pancakes or waffles
-
Serving alongside cheese and crackers
-
Using as a filling for pastries
-
Gifting during the holidays
Ingredients
Method
- Prepare the Pears – Peel, core, and slice pears evenly.
- Macerate – In a large bowl, combine pears, sugar, and lemon juice. Cover and let sit at least 2 hrs or overnight in fridge.
- Cook – Transfer pear mixture and juices to a large pot. Add water, vanilla, and spices (if using). Bring to a simmer, then reduce heat and cook 45–60 mins until pears are translucent and syrup is thick.
- Test for Doneness – Drop a little syrup on a chilled plate; it should be thick and slow to run.
- Store or Can – Refrigerate in clean jars up to 1 month or process in a boiling water bath for 10 mins for long-term storage.
Notes
- On warm biscuits or toast
- Over pancakes or waffles
- With cheese and crackers
- As pastry filling
- Holiday gifts
- Use firm-ripe pears to avoid mushy texture.
- Add lemon zest for brightness.
- Try spices like cardamom or ginger for variation.
- Adjust sugar to match pear sweetness.
How to Make Pear Preserves – Step-by-Step
1. Prepare the Pears
Start by peeling, coring, and slicing your pears. You want uniform slices—not too thick—so they cook evenly.
Ripe but firm pears are ideal because they hold their shape while softening perfectly during cooking.
2. Macerate the Fruit
In a large pot or mixing bowl, combine sliced pears, sugar, and lemon juice.
Stir gently until the pears are coated, then cover and let the mixture sit for at least 2 hours, or overnight in the fridge.
This draws out the natural juices and helps create the syrupy base.
3. Cook the Preserves
Pour the pear mixture (including all juices) into a large, heavy-bottomed pot. Add water, vanilla, cinnamon, and nutmeg if using.
Bring to a simmer over medium heat, stirring occasionally to prevent sticking.
Reduce heat and simmer gently for 45 minutes to 1 hour, until the pears are translucent and the syrup has thickened.
Tip: Stir occasionally and skim off any foam that forms on the surface to keep the syrup clear.
4. Test for Doneness
To check if your preserves are ready, spoon a little syrup onto a chilled plate. It should be thick enough not to run.
If it’s too thin, continue simmering and test again after 5-10 minutes.
5. Store or Can the Preserves
You can store your preserves in clean jars in the fridge for up to a month. For longer shelf life, use the water bath canning method:
-
Sterilize jars and lids in boiling water.
-
Fill hot jars with hot preserves, leaving 1/4 inch of headspace.
-
Wipe rims, seal with lids, and process in a boiling water bath for 10 minutes.
-
Remove and let cool undisturbed for 12-24 hours.
Tips for the Best Pear Preserves
-
Choose firm-ripe pears – Overripe pears can turn mushy during cooking.
-
Add lemon zest for extra brightness.
-
Adjust sugar – You can use less sugar if your pears are especially sweet, but this may affect the final texture.
-
Try cardamom or ginger for a unique flavor twist.
-
Use a mandoline to get even slices if you’re preserving a large batch.
FAQs About Pear Preserves
1. Can I use brown sugar instead of white sugar?
Yes! Brown sugar adds a richer, caramel-like flavor. You can substitute all or part of the white sugar.
2. How long do homemade pear preserves last?
Refrigerated: up to 1 month. Canned: up to 1 year in a cool, dark place.
3. Do I have to peel the pears?
Peeling is recommended for a smoother texture and better syrup infusion, but you can leave the skins on for a more rustic preserve.
4. Can I freeze pear preserves?
Yes, store cooled preserves in freezer-safe containers. Leave room for expansion. Use within 6 months.
5. What kind of pears work best?
Bartlett, Bosc, or Anjou pears are great choices—they hold their shape well and have a balanced flavor.
6. Can I double the recipe?
Yes, but use a wider pot for even cooking and allow extra simmering time.
7. What’s the difference between jam and preserves?
Preserves contain larger pieces or slices of fruit, while jam is smoother and more spreadable.
8. Can I add alcohol, like brandy or bourbon?
Absolutely! A splash of brandy or bourbon at the end of cooking adds a warm, luxurious depth.
9. How can I use pear preserves in baking?
Try them in thumbprint cookies, hand pies, or as a cake filling.
10. Can I make this recipe sugar-free?
You can reduce the sugar or use a low-sugar pectin alternative, but the texture and shelf life may vary.
Final Thoughts
Making your own pear preserves is a beautiful way to preserve the bounty of pear season and bring a little homemade sweetness to your table year-round.
Whether you enjoy it on toast or tuck it into baked goods, it’s a recipe that celebrates tradition and flavor.
If you try this recipe, let me know how it turns out! And if you’re looking for more preserving ideas, don’t forget to check out my other fruit-based recipes.