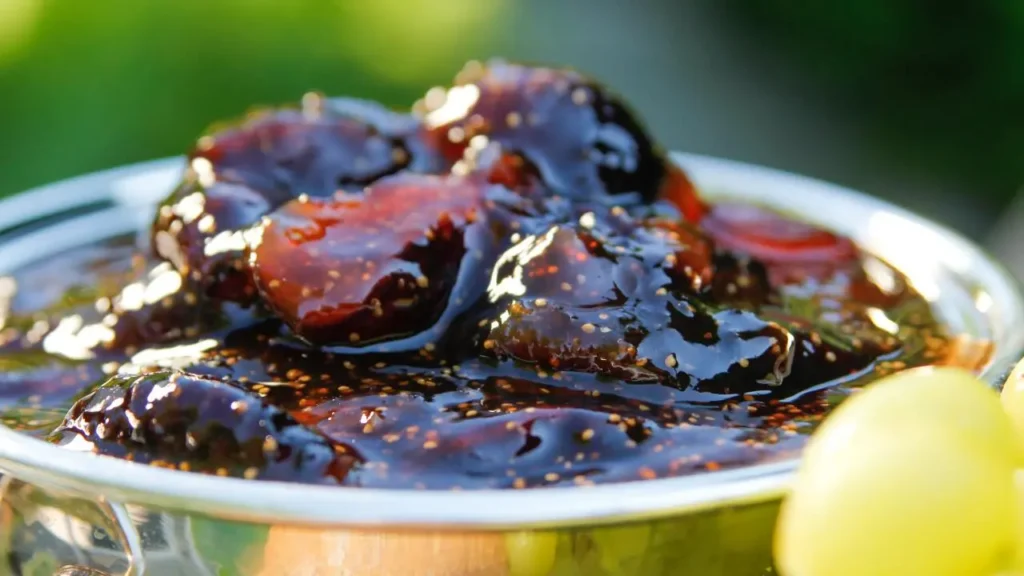
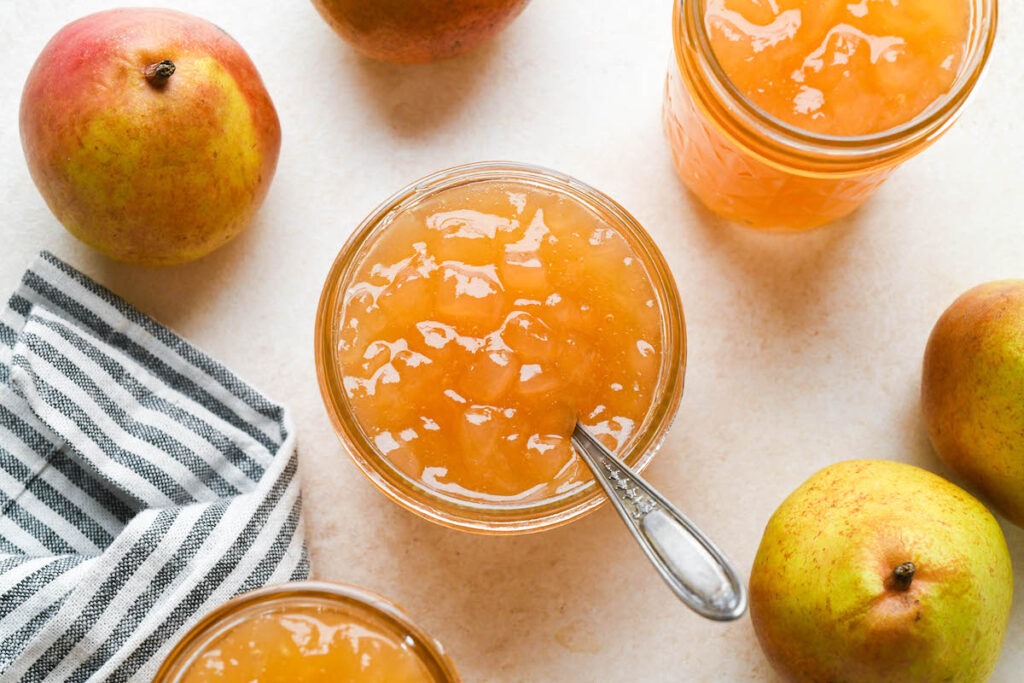
Blackberry jam is a timeless homemade treat that captures the sweet-tart flavor of ripe blackberries in a jar.
Whether spread on toast, spooned over pancakes, or used in desserts, this jam brings a burst of summer to your table all year round.
Related Post: How To Prepare Blackberry Smoothie
In this guide, we’ll walk you through how to prepare blackberry jam from scratch — no fancy equipment needed.
This article includes affiliate links. If you make a purchase through these links, I may earn a commission at no extra cost to you. Your support is highly appreciated.
Why Make Homemade Blackberry Jam?
Store-bought jam is convenient, but nothing beats the taste and freshness of homemade.
Making your own allows you to control the sweetness, avoid preservatives, and make the most of seasonal fruit. Plus, it’s a satisfying and creative way to preserve nature’s bounty.
Ingredients You’ll Need
To make about 3–4 small jars of blackberry jam, gather these simple ingredients:
-
4 cups of fresh or frozen blackberries (washed and drained)
-
3 cups of granulated sugar
-
2 tablespoons of lemon juice
-
(Optional) 1 packet of fruit pectin, especially if you want a thicker consistency
Tools You’ll Need
Consider these must-have kitchen tools (affiliate links included):
Step-by-Step: How To Prepare Blackberry Jam
1. Sterilize Your Jars
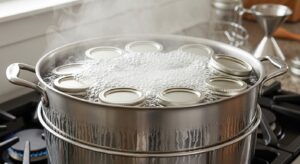
Start by cleaning your jars and lids. Submerge them in boiling water for about 10 minutes, then let them air dry.
This step ensures your jam stays fresh and safe to store.
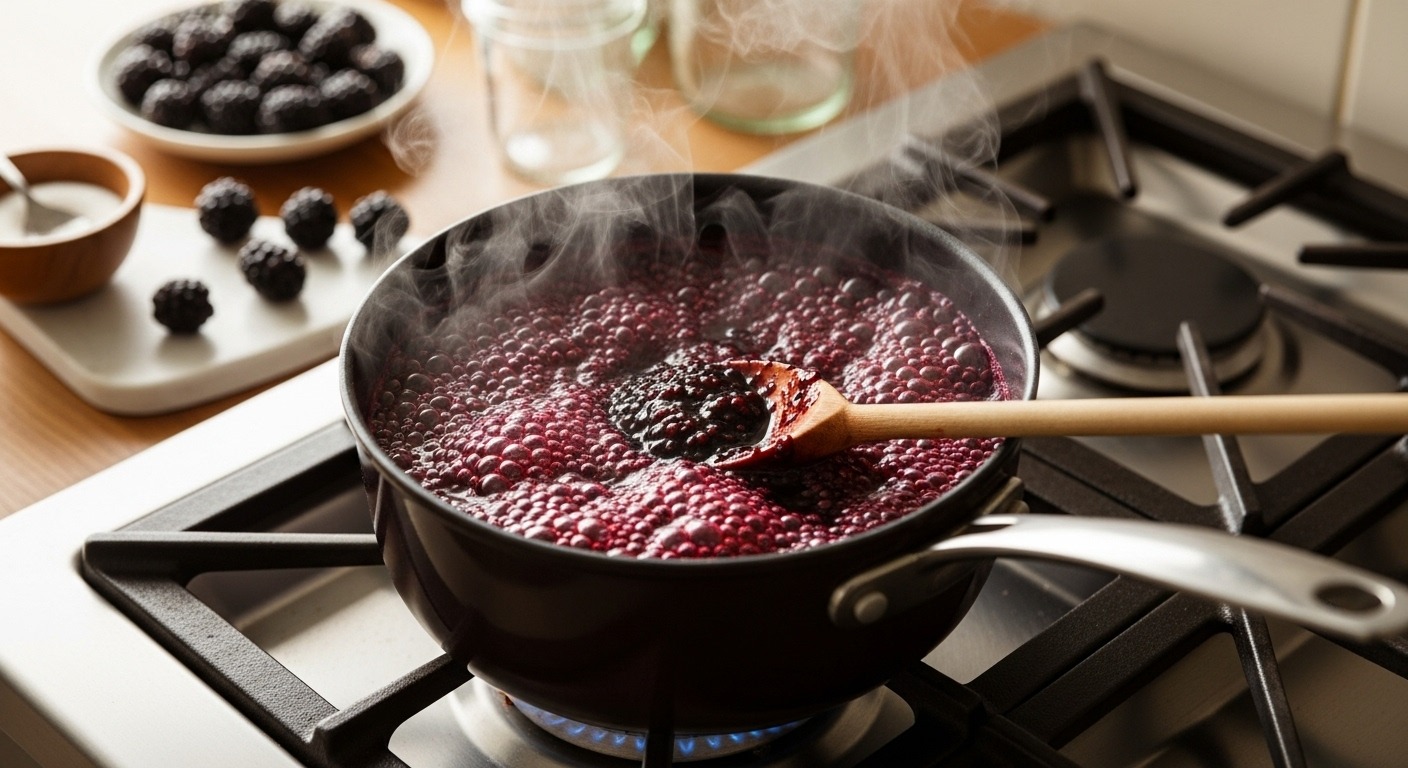
2. Mash the Blackberries

Place the blackberries in a large saucepan.
Using a potato masher or fork, crush the berries until you reach your desired texture—smooth or chunky, it’s up to you.
3. Add Lemon Juice and Sugar
Pour in the lemon juice (for acidity and preservation) and the sugar.
Stir the mixture thoroughly to combine and dissolve the sugar slightly before heating.
4. Cook the Jam
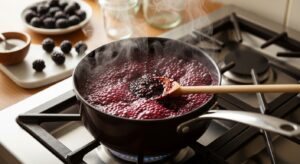
Place the pot over medium-high heat. Bring the mixture to a boil, stirring frequently to prevent burning.
If you’re using pectin, add it according to the packet instructions at this stage. Continue boiling for about 15–20 minutes, or until the jam thickens.
You can test the consistency by placing a small spoonful on a cold plate—if it wrinkles when you push it with your finger, it’s ready.
5. Skim Off Foam
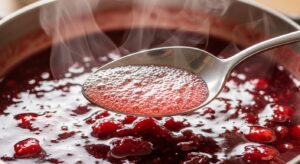
Sometimes, foam forms on the surface during boiling. Use a spoon to gently remove it for a cleaner finish and better storage quality.
6. Pour into Jars
Carefully ladle the hot jam into your sterilized jars, leaving about 1/4 inch of space at the top. Wipe the rims clean, then seal tightly with lids.
7. Seal and Store
For long-term storage, process the sealed jars in a boiling water bath for 10 minutes. Once cooled, store the jars in a cool, dark place.
Opened jars should be refrigerated and used within a few weeks.
Tips for Best Results
-
Use ripe, fresh blackberries for the richest flavor.
-
Don’t skip the lemon juice — it helps the jam set and enhances flavor.
-
Avoid overcooking, which can result in a too-thick or scorched jam.
Read More: How To Freeze Peaches
Common Mistakes to Avoid
-
Using too much sugar: While it’s necessary for preservation, too much can overpower the berry flavor.
-
Not sterilizing jars properly: This may lead to spoilage or bacterial growth.
-
Not testing the jam’s set: Always do the cold plate test before turning off the heat.
FAQs About Blackberry Jam
Q: Can I make blackberry jam without pectin?
Yes! Blackberries naturally contain pectin. With enough cooking time and lemon juice, you can achieve a good set.
Q: Can I use frozen blackberries?
Absolutely. Just thaw and drain them before use.
Q: How long does homemade blackberry jam last?
Sealed jars can last up to a year in a cool, dark place. Once opened, refrigerate and consume within 3–4 weeks.
Q: Can I reduce the sugar?
You can, but it may affect the jam’s texture and shelf life. Consider using low-sugar pectin if adjusting the sugar level.
Q: What can I do with leftover jam?
Try it on toast, swirled into yogurt, layered in cakes, or even as a glaze for meats.
Final Thoughts
Now that you know how to prepare blackberry jam, it’s time to turn those juicy berries into something truly delicious.
Whether you’re making it for your pantry or as a homemade gift, blackberry jam is a sweet and simple project that pays off in every bite.
So grab your berries and get jamming.
How To Prepare Blackberry Jam
Ingredients
Method
- Sterilize jars: Boil jars and lids for 10 minutes, then air dry.
- Mash berries: Place blackberries in a saucepan and mash until smooth or chunky.
- Add sugar & lemon: Stir in sugar and lemon juice until combined.
- Cook jam: Bring to a boil over medium-high heat, stirring often. Boil 15–20 minutes until thickened. (Add pectin if using.)
- Test set: Place a spoonful on a cold plate — if it wrinkles when pushed, it’s ready.
- Skim foam: Remove any foam from the surface.
- Fill jars: Ladle jam into jars, leaving ¼ inch headspace. Wipe rims and seal.
- Seal & store: Process jars in boiling water bath for 10 minutes. Cool and store in a dark, cool place. Refrigerate after opening.
Notes
🍴 Ways to Use Blackberry Jam
- Spread on toast, bagels, or biscuits
- Swirled into yogurt or oatmeal
- As a cake filling or cupcake topping
- Spoon over pancakes or waffles
- Glaze for chicken, pork, or duck